Hello my wonderful friends!
Despite our best efforts, life rarely seems to go how we plan. I had grand ideas of spending the past week in art heaven as I participated in a week long art class (taught by Tim Holtz!!!)... instead, I spent the past week stressed out and sick... and trying to keep up in my art class in the wee hours of the night/morning if there was time before I couldn't stay awake any longer.
I had planned to get some fantastic inspiration from that class that could really make for an awesome CI tutorial today... instead, today's tutorial was inspired by a trip into WalMart.
Art and Life have a lot in common. We can plan all we want, but what happens, happens. We can choose to either get flustered and give up, or run with it and see what happens.
I didn't learn this technique in my class... I saw the cheesecloth at the store, and because of my exhaustion and stress I was in a rather "slap-happy" mood... It may not be what I planned, but I ran with it...
And I liked where it took me. :)

Step 1: Cover card stock with matte glue. I prefer Ranger's Matte Glue N' Seal because once it is dry, you can't tell there is any adhesive there at all. However, matte Mod Podge works too... I'll show you in a sec.
*You can do this on a blank card stock, colored card stock, chipboard, or any other sturdier media... I wouldn't recommend doing this on any thin paper that can not hold up to the saturation of wet glue. *

Step 2: Press cheesecloth onto your card stock. Make sure you press firmly over the entire piece to ensure the glue adheres to all the fibers.
Allow to dry.

The blue/green one was done with Matte Glue N' Seal. The purple was done with Matte Mod Podge... I know it's hard to see in the picture, but there is no white in the purple piece... that is sheen of the "matte" surface of the dried mod podge in the sunlight. Although it is more matte than the glossy, it is still visible. You cannot see the Glue N' Seal at all.

Step 3: Enhance the texture by adding Creative Inspirations Paint. Gently go over your card stock, with sponge or dabber (see below) hitting only the fibers of the cheesecloth.
I used Antique Copper for mine.

My favorite tool for techniques where I want to highlight texture using CI paint is the Inkadinkado Dabbing Brush. The circle foam tip fits perfectly inside the lid of the CI paints, and it is hard enough that it will hit only the raised areas, and porous enough to really hold and distribute the paint and shimmer well. Bad news.... I looked on Inkadinkado's website for a link... they seem to not make them any more... Maybe my next tutorial should be how to make your own applicator! (not a bad idea...) In the mean time... google it and pick one up where you can now if you want one!
*you can do this technique with a makeup wedge, so don't panic if you don't have the cool foam tool!!!*

Step 4: If you want to take it up a notch... run your cheesecloth paper through your embossing machine...

Step 5: Again, enhance the double texture with your Creative Inspirations paint. How stinkin' awesome is that!
Pull it all together for a quick card...

and for a couple up close looks...

check out that shimmer! The paint really makes the texture pop!

Honestly, I love the double texture... It is so fun!
Enjoy!
Supplies Used:
Paper: card stock
Stamps: Basic Grey "Cakes"
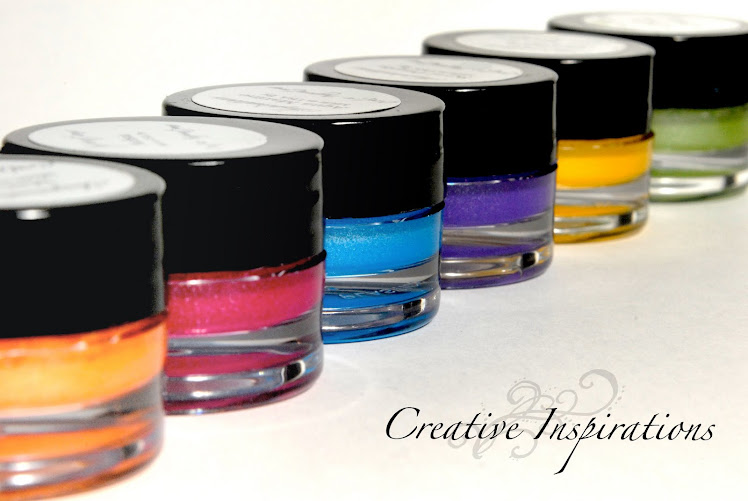
Creative Inspirations Paint: Antique Copper
Dies: Quickutz "Nesting Circles"
Other: Tim Holtz "Bubbles" texture fade, Distress Paint, cheesecloth
5 comments:
Love the texture Kassi, clever use of cheesecloth! Especially loving the antique copper that really shows off that texture too. :) hugs, Kimberly
Gorgeous card!! Love this technique what a clever idea to use a cheesecloth to attach to cardstock!!
Love it!!
Great ideas, Kassi! Gotta try them!
Love it Kassi. I'm looking forward to using this idea TFS.
Wow... love the way this looks! Super cool! I have this marked down to try now! Thanks!
Post a Comment